Home
  • English
  • Türkçe
  • Español
  • Deutsch
  • Français
  • 日本語
Step-by-step tutorial

Process your first Smoothie video

Learn how to choose a clip, set 4K and smoother motion, follow processing, compare the before/after detail, and save the finished video.

PickStart from Photos or Files.
EnhanceChoose quality and frame rate.
ComparePreview smooth 4K results.
Smoothie start screen Smoothie finished video screen
Workflow

From source clip to smooth result

Smoothie keeps the path simple: select a video, choose how far to enhance it, wait for processing, then inspect and share the result.

Choose a video in Smoothie
Step 1

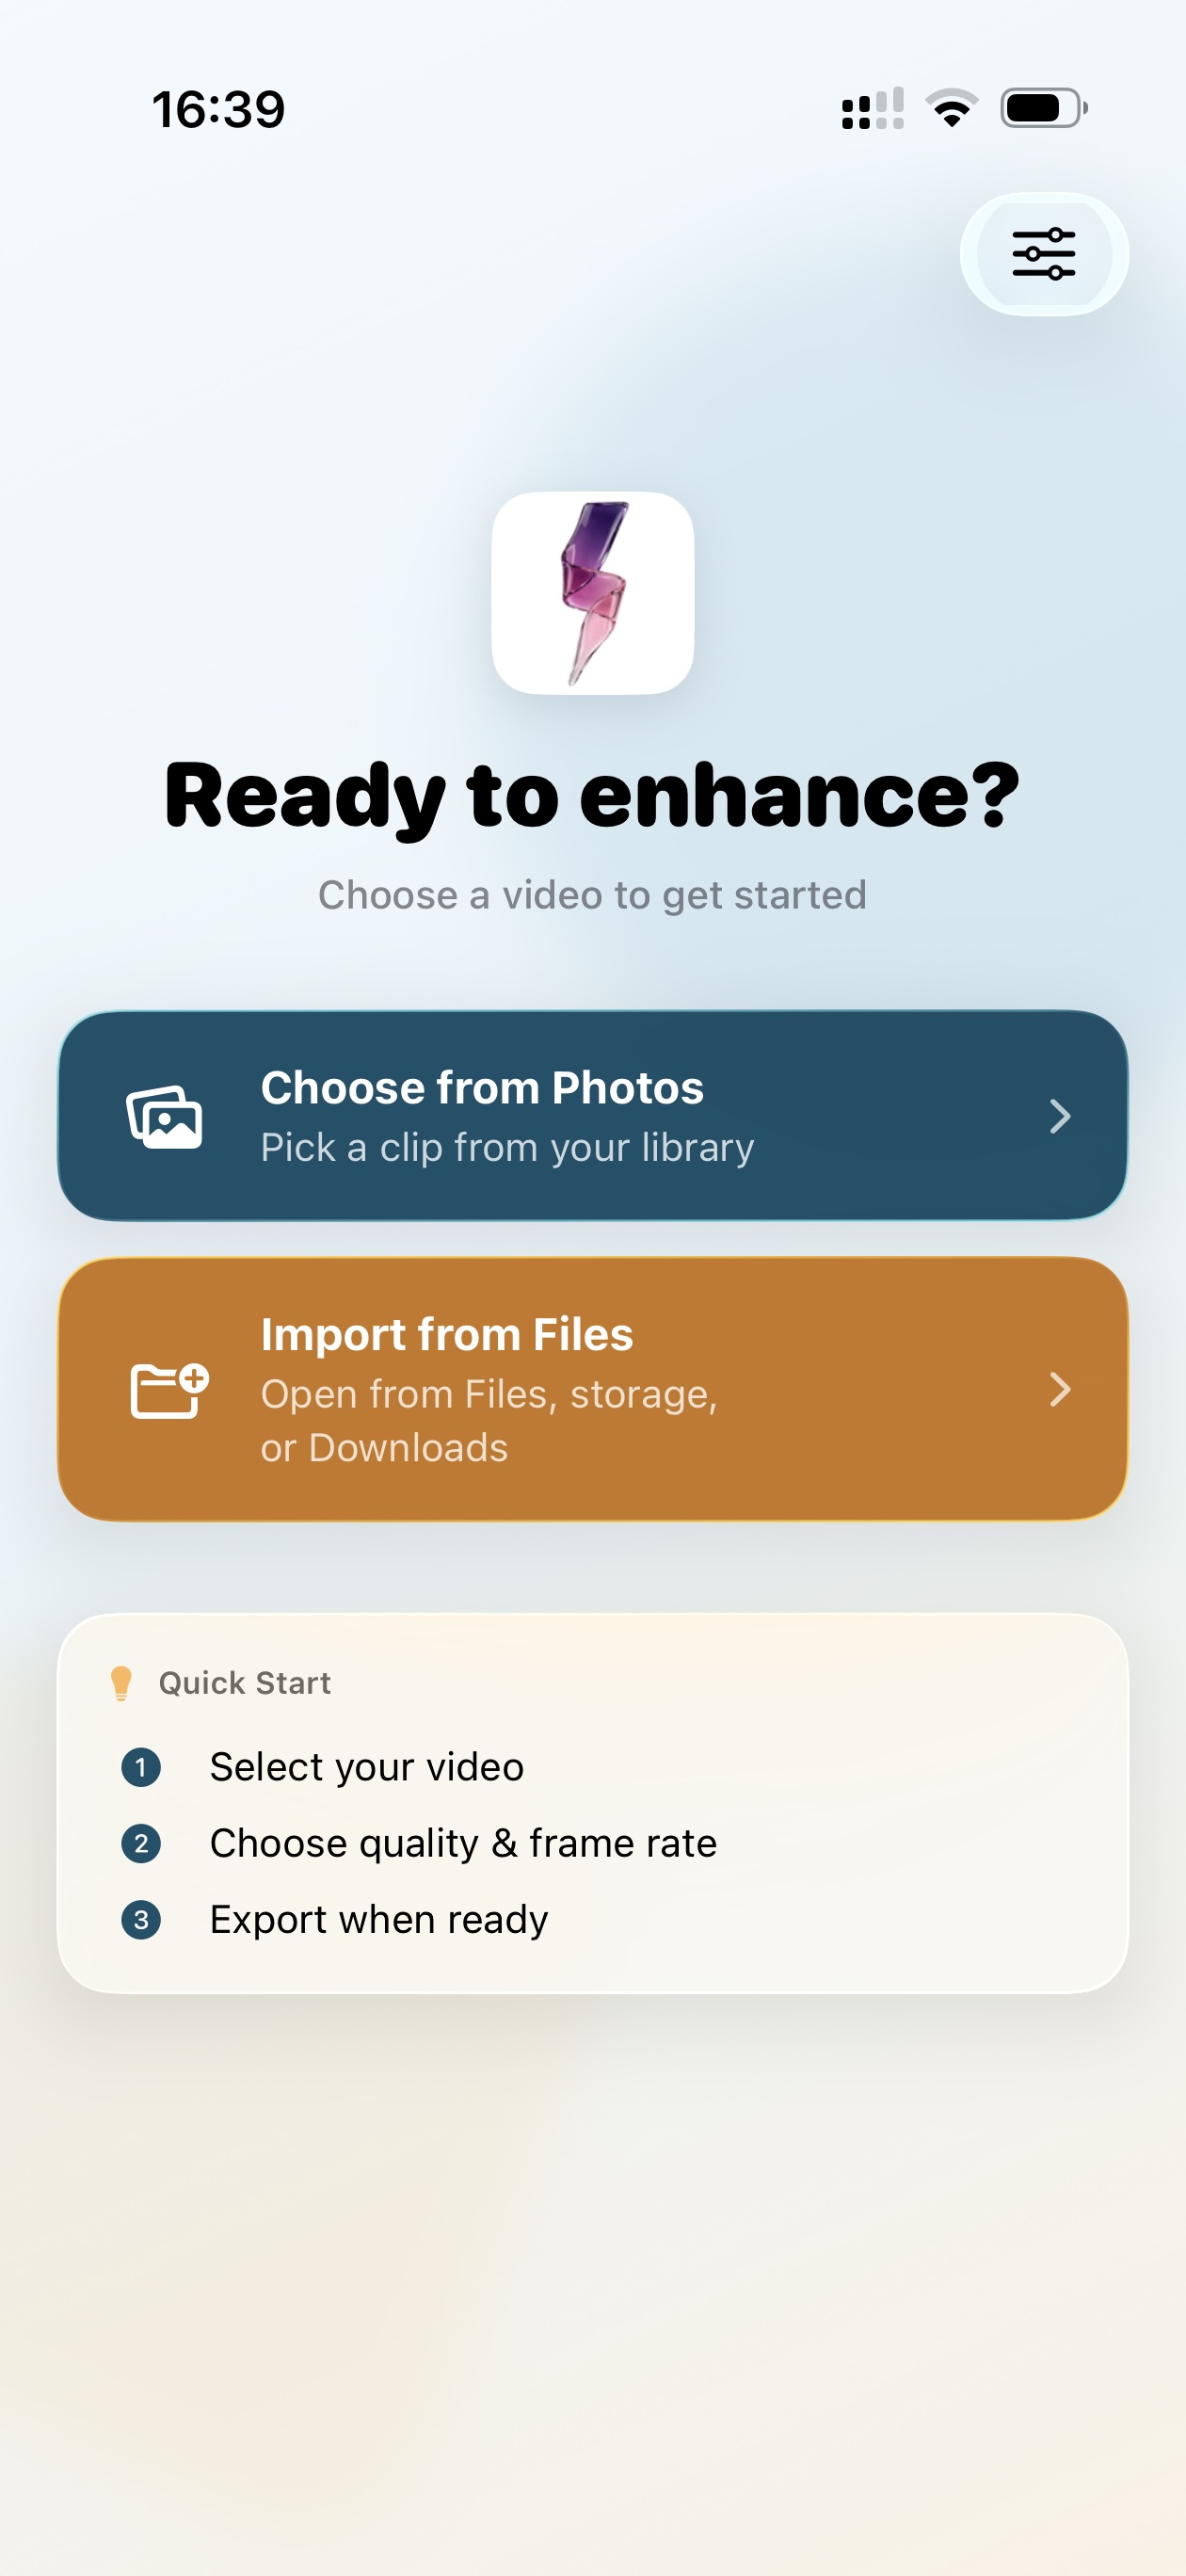
Choose your source video

Open Smoothie and choose a clip from Photos or import one from Files. The app shows a quick start guide so the first run is easy to follow.

  • Photos: Best for camera roll clips and saved videos.
  • Files: Best for downloads, external storage, or project files.
Video source details in Smoothie
Step 2

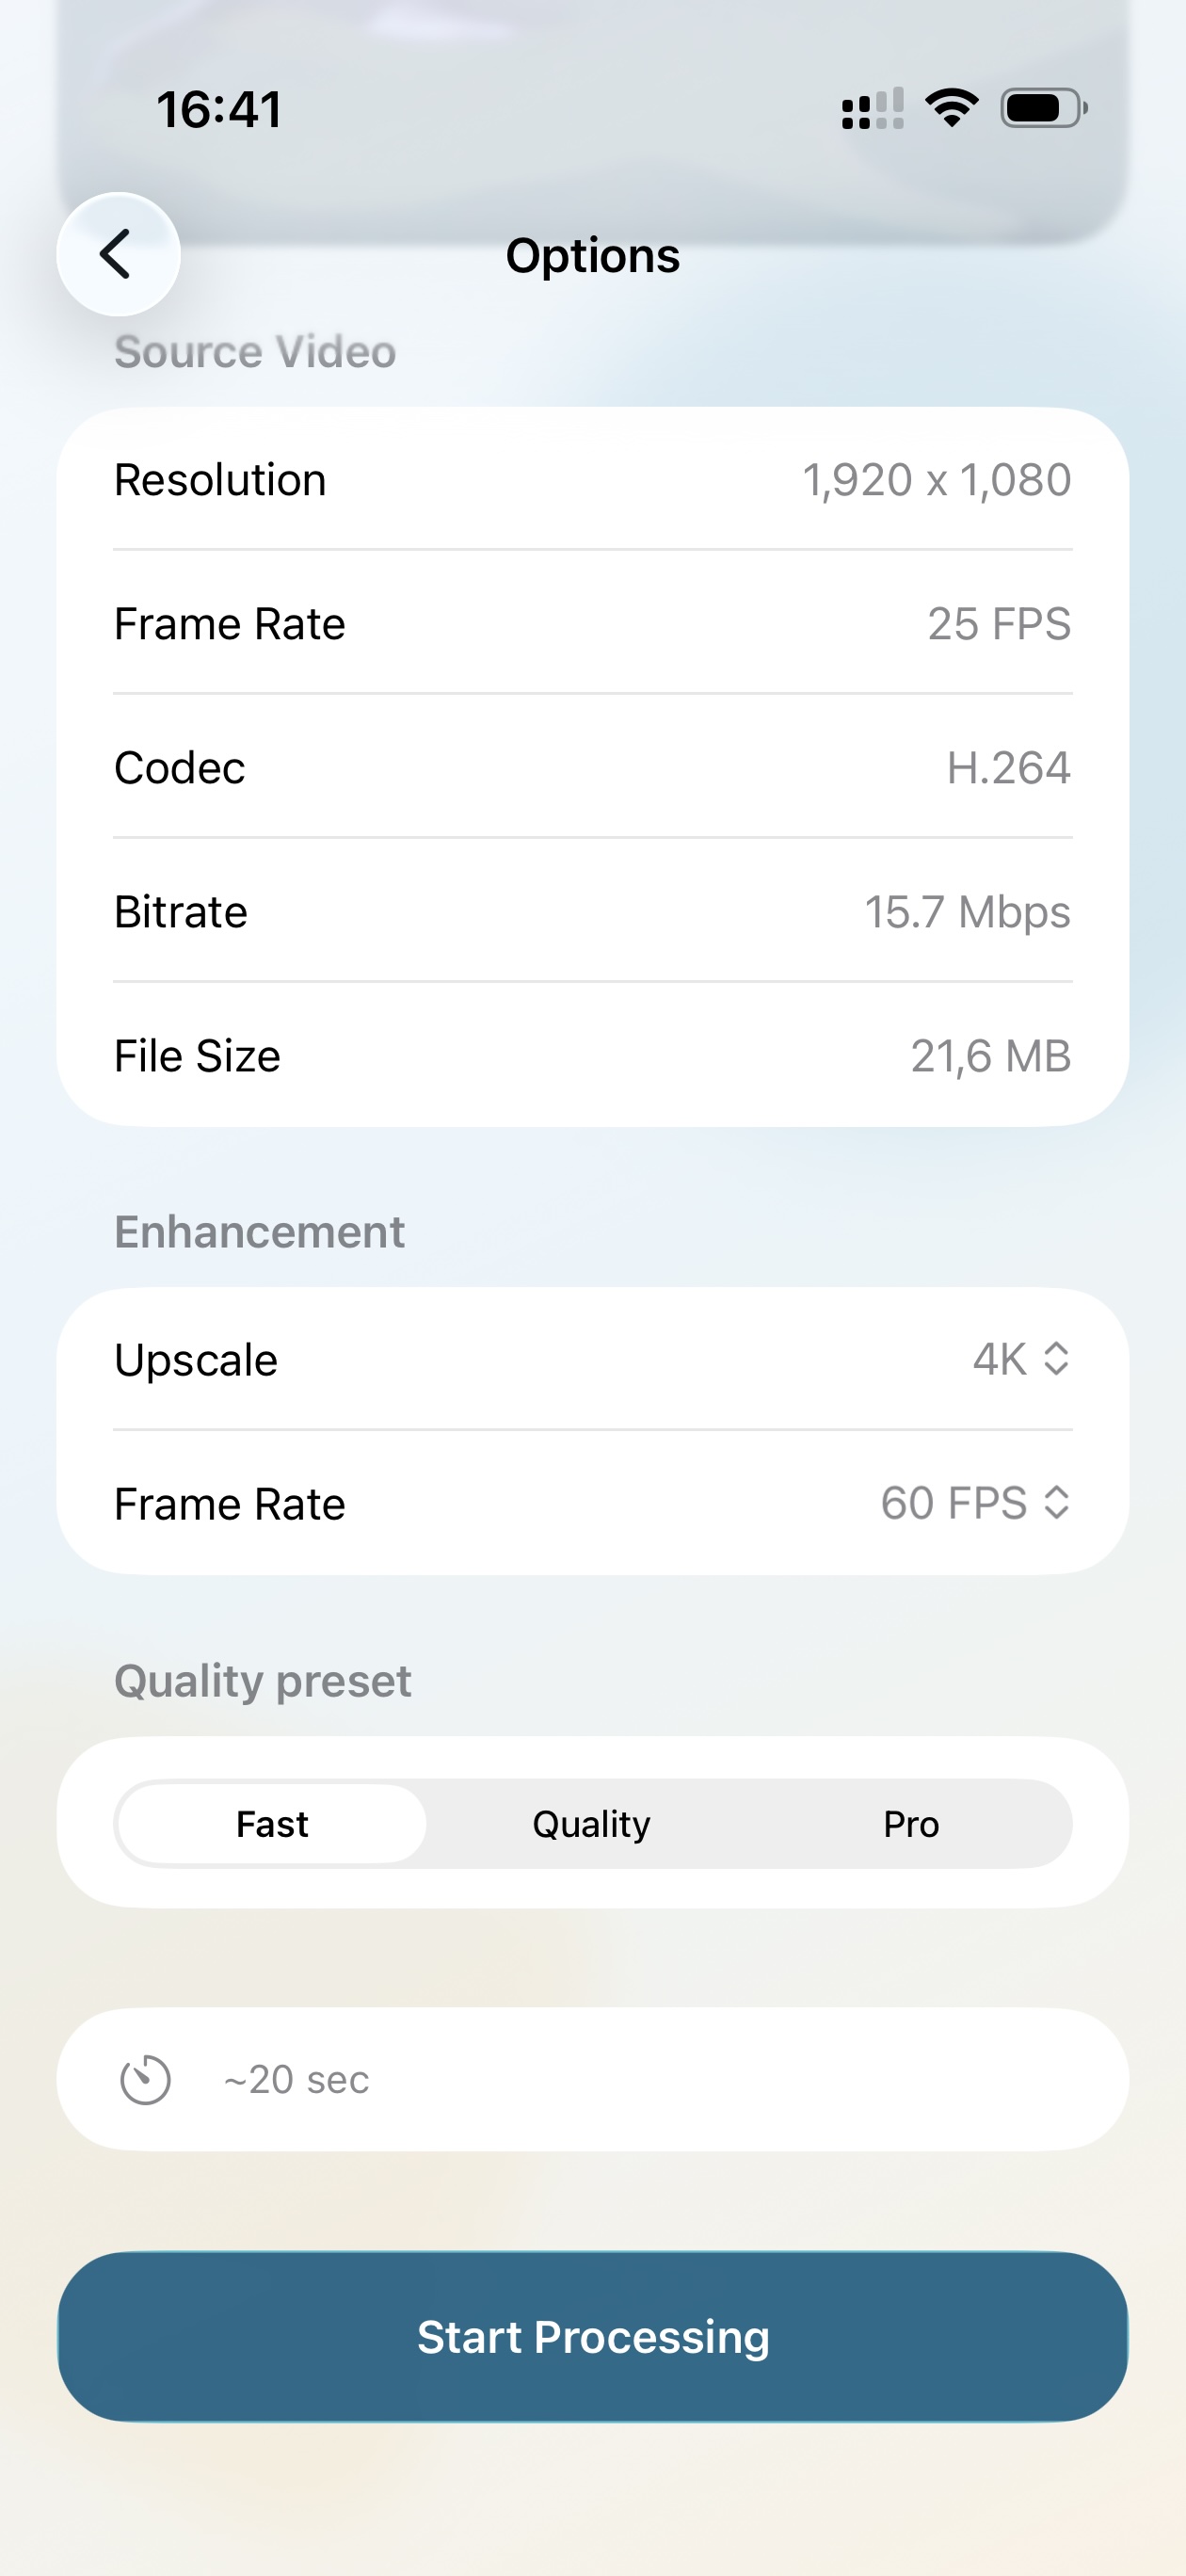
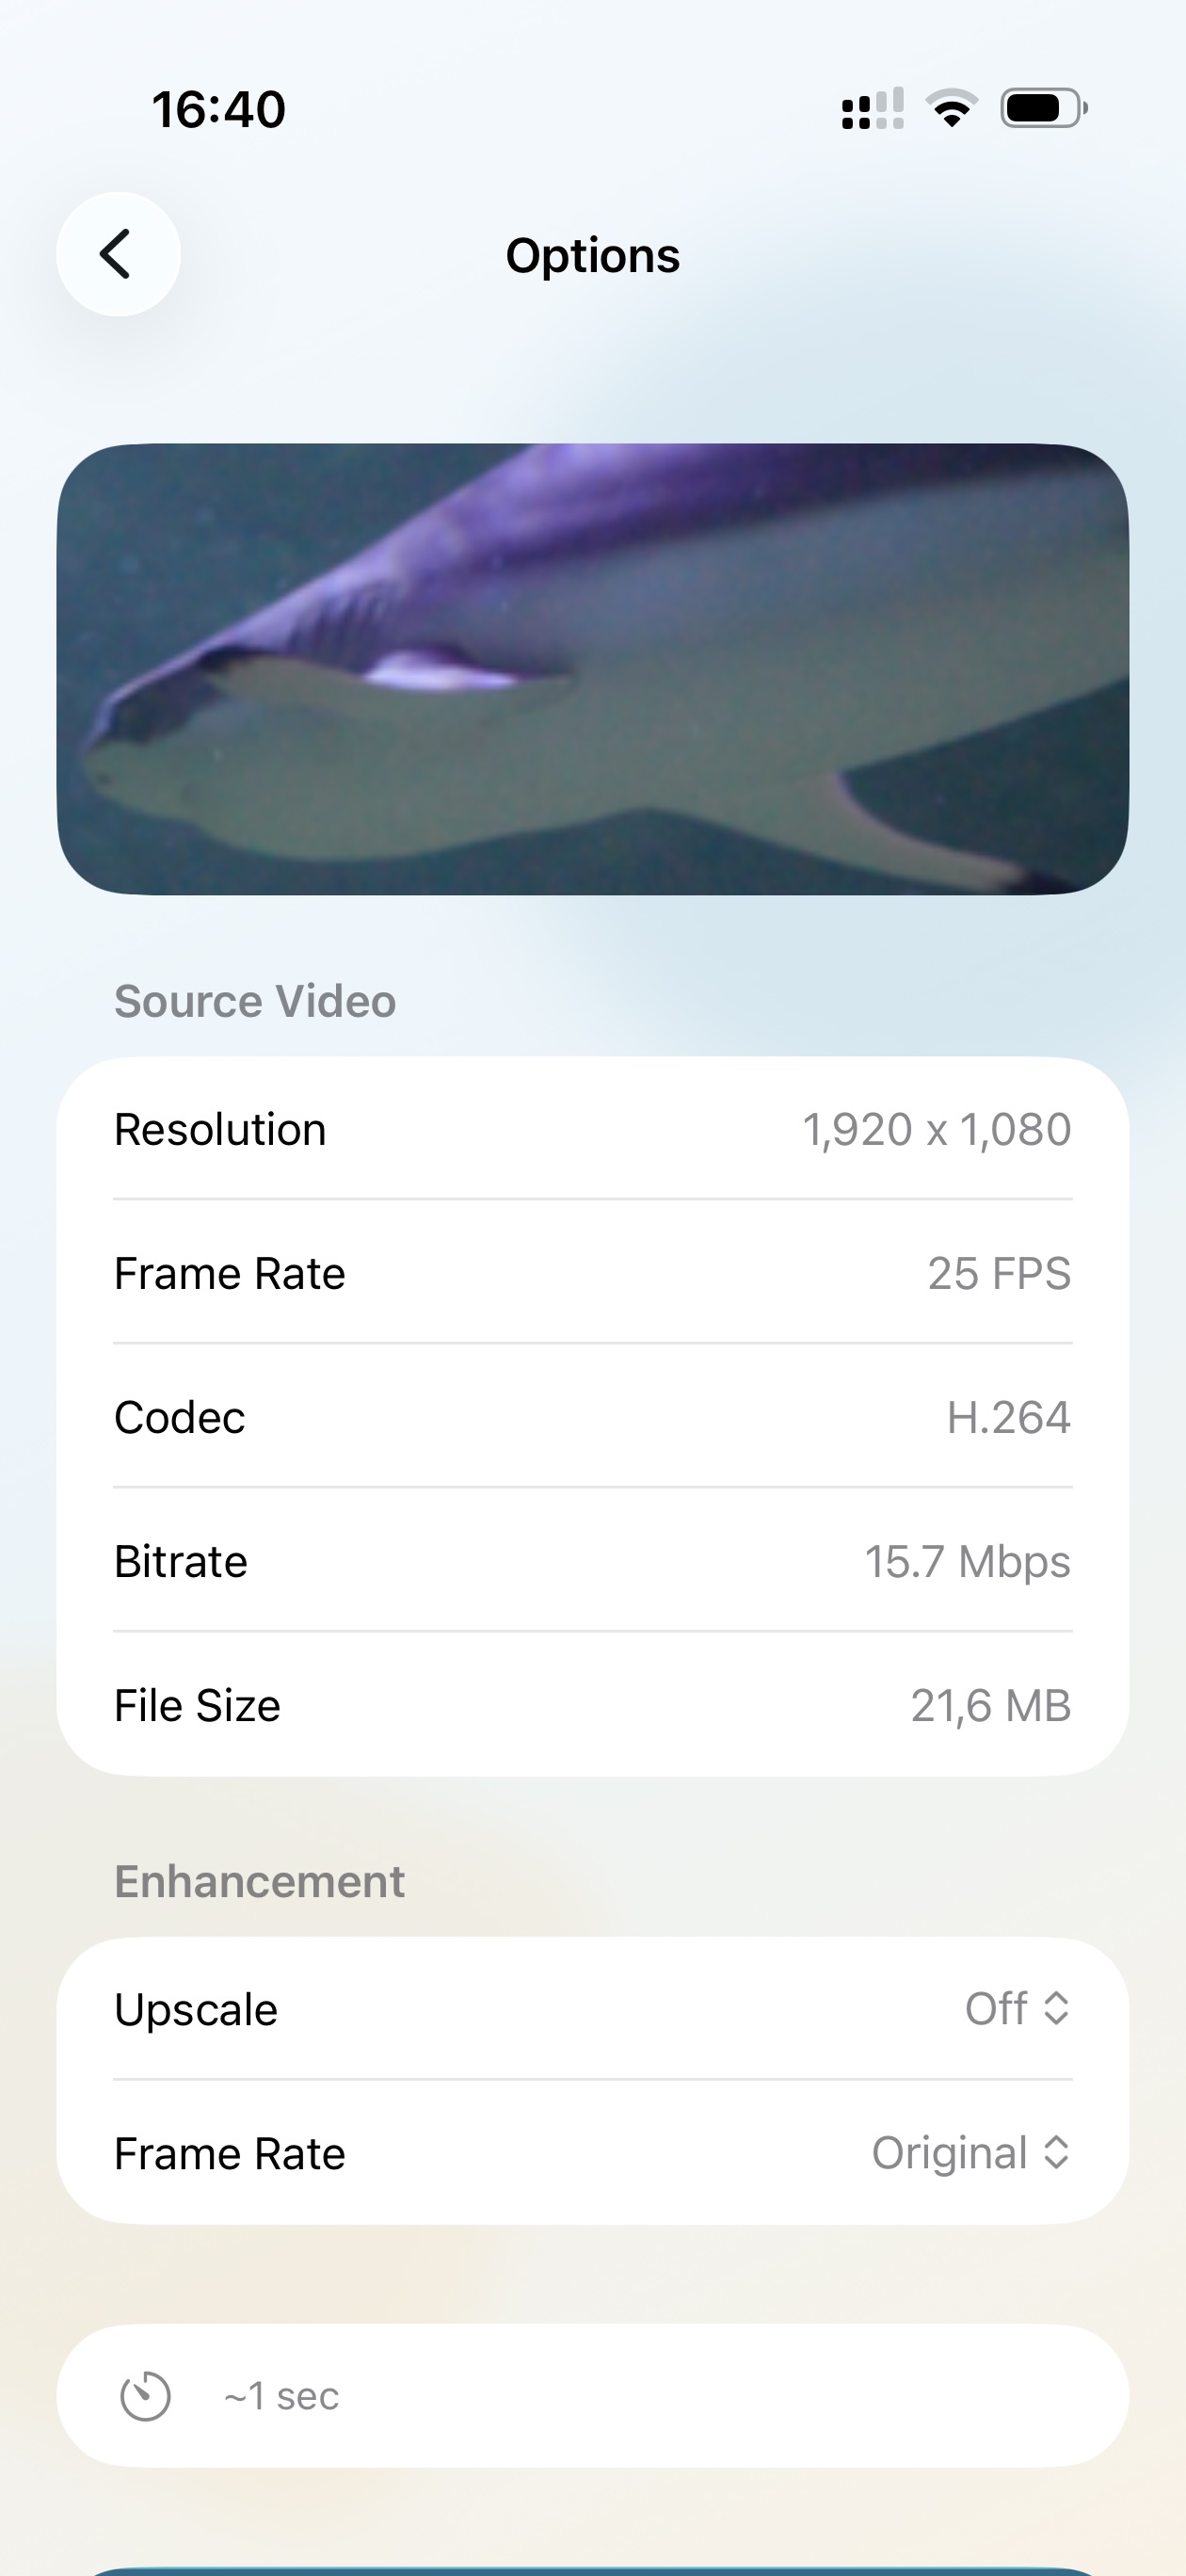
Review the source details

Smoothie shows the original resolution, frame rate, codec, bitrate, and file size. Use this screen to decide whether you need sharper detail, smoother motion, or both.

4K and 60 FPS settings in Smoothie
Step 3

Set 4K and a smoother frame rate

Choose the output resolution and frame rate that fit your clip. 4K improves visible detail, while 60FPS or 120FPS makes motion feel smoother.

  • Everyday clips: 4K with 60FPS is a strong balance for most videos.
  • Fast action: Use a higher frame rate when motion needs extra smoothness.
Quality preset options in Smoothie
Step 4

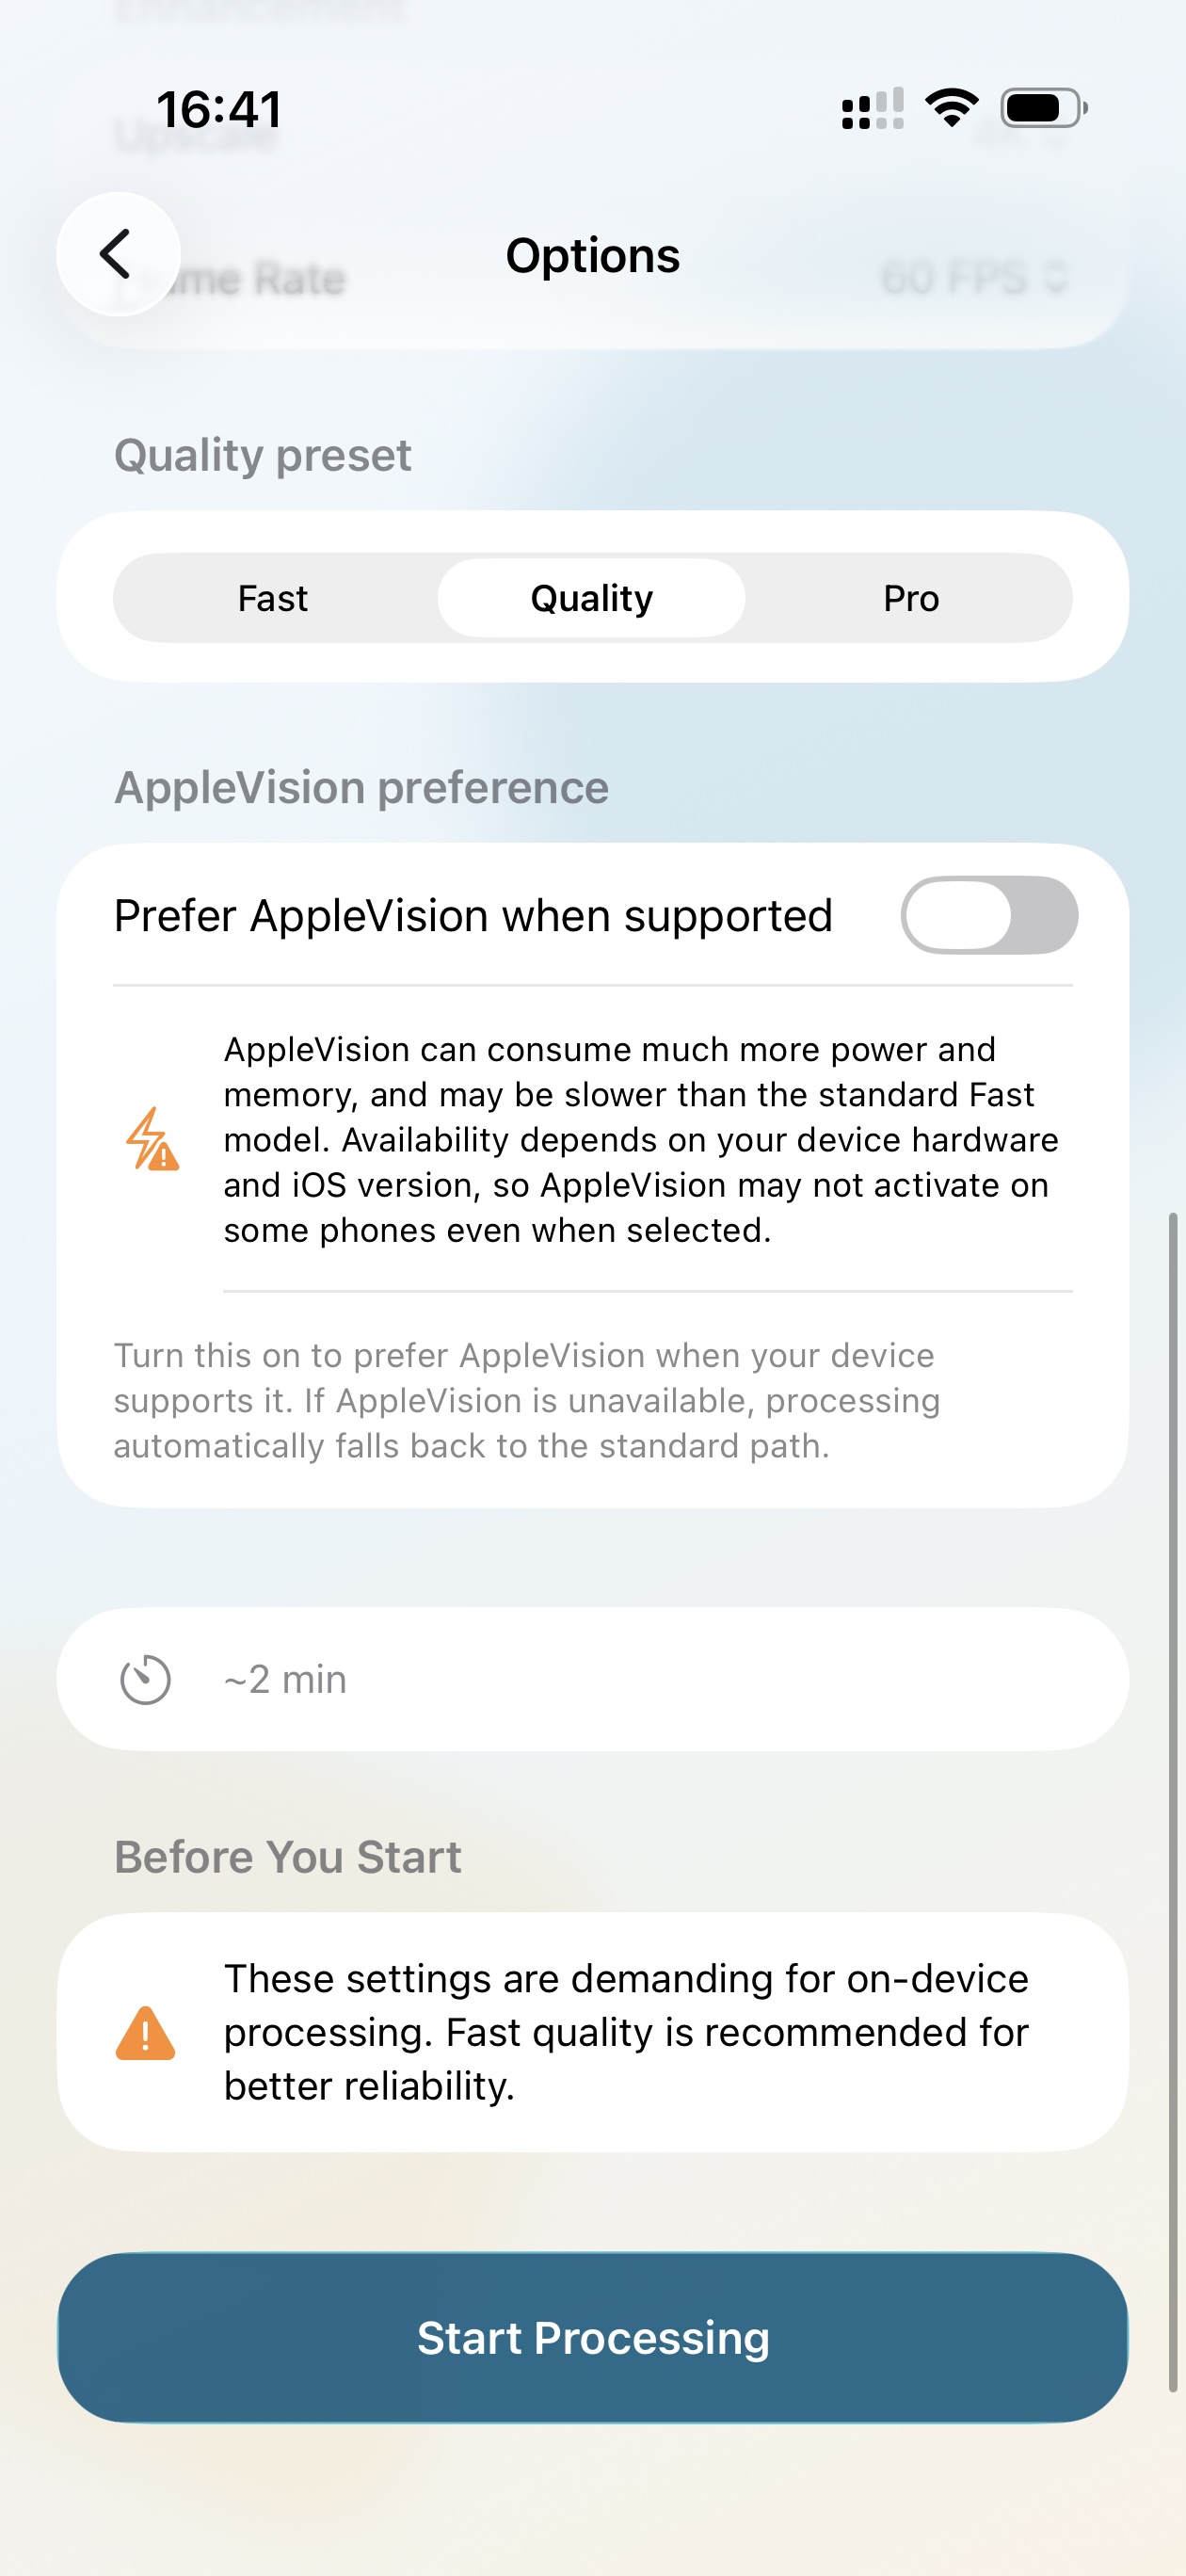
Pick the right quality preset

Fast is better for quick, reliable results. Quality is a good middle path. Pro is for the highest output quality when file size and processing time matter less. Prefer AppleVision enables Apple's GPU-powered upscaling engine when your device supports it.

Smoothie processing progress
Step 5

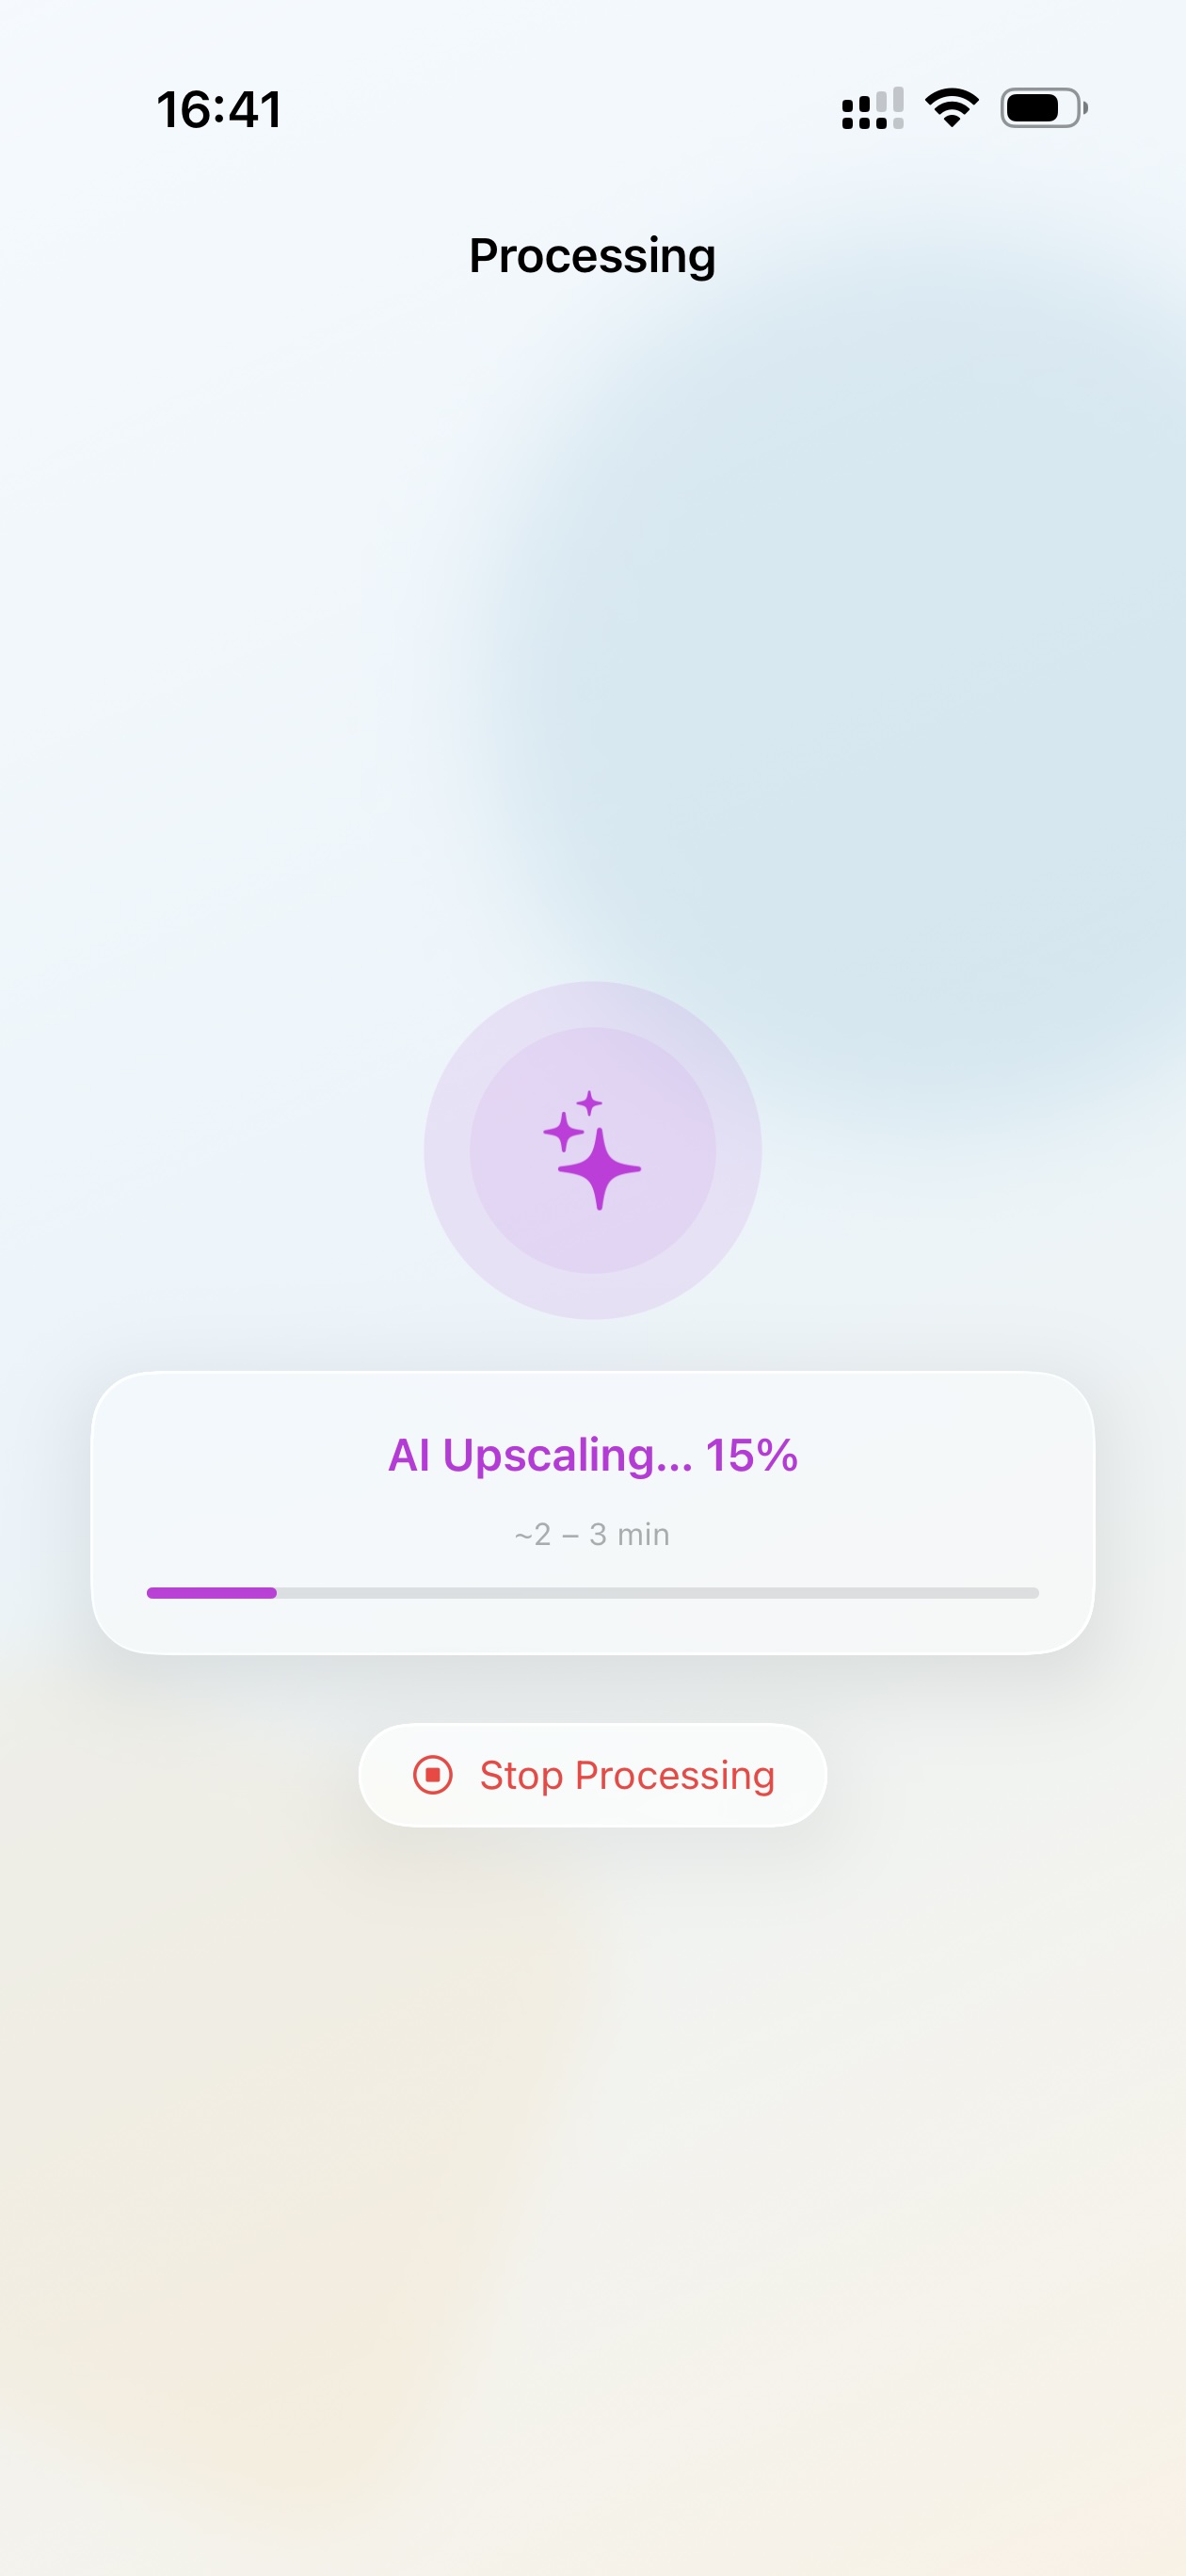
Start processing and wait for progress

Tap Start Processing and keep Smoothie open while the progress panel runs. Longer, higher-resolution, or higher-quality exports can take more time.

Before and after detail comparison in Smoothie
Step 6

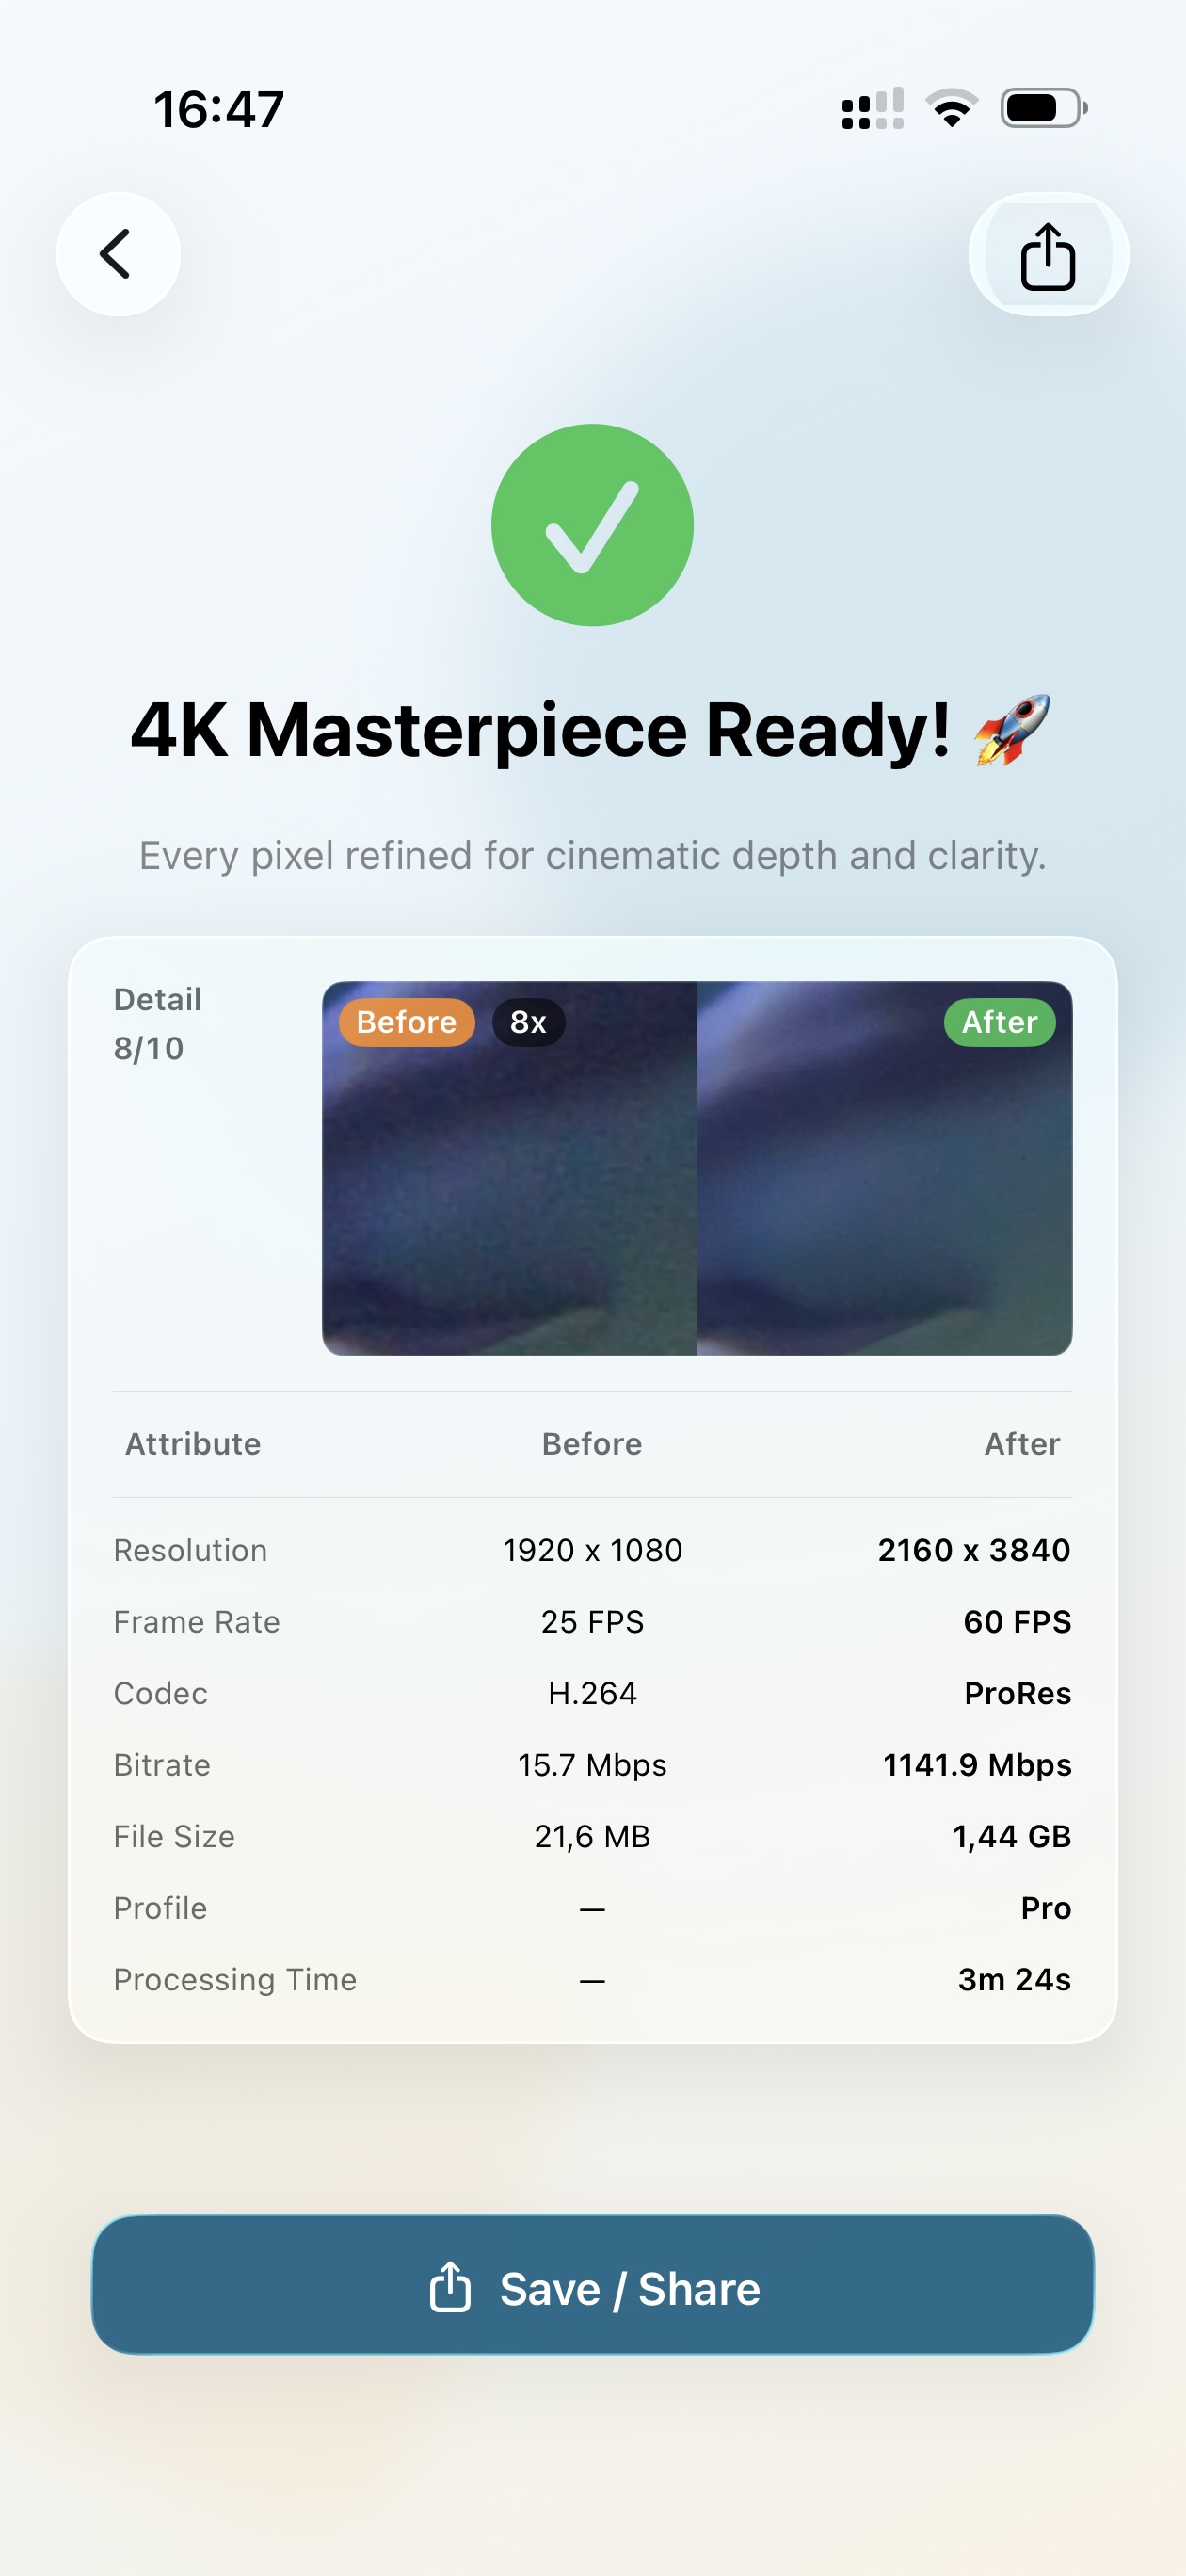
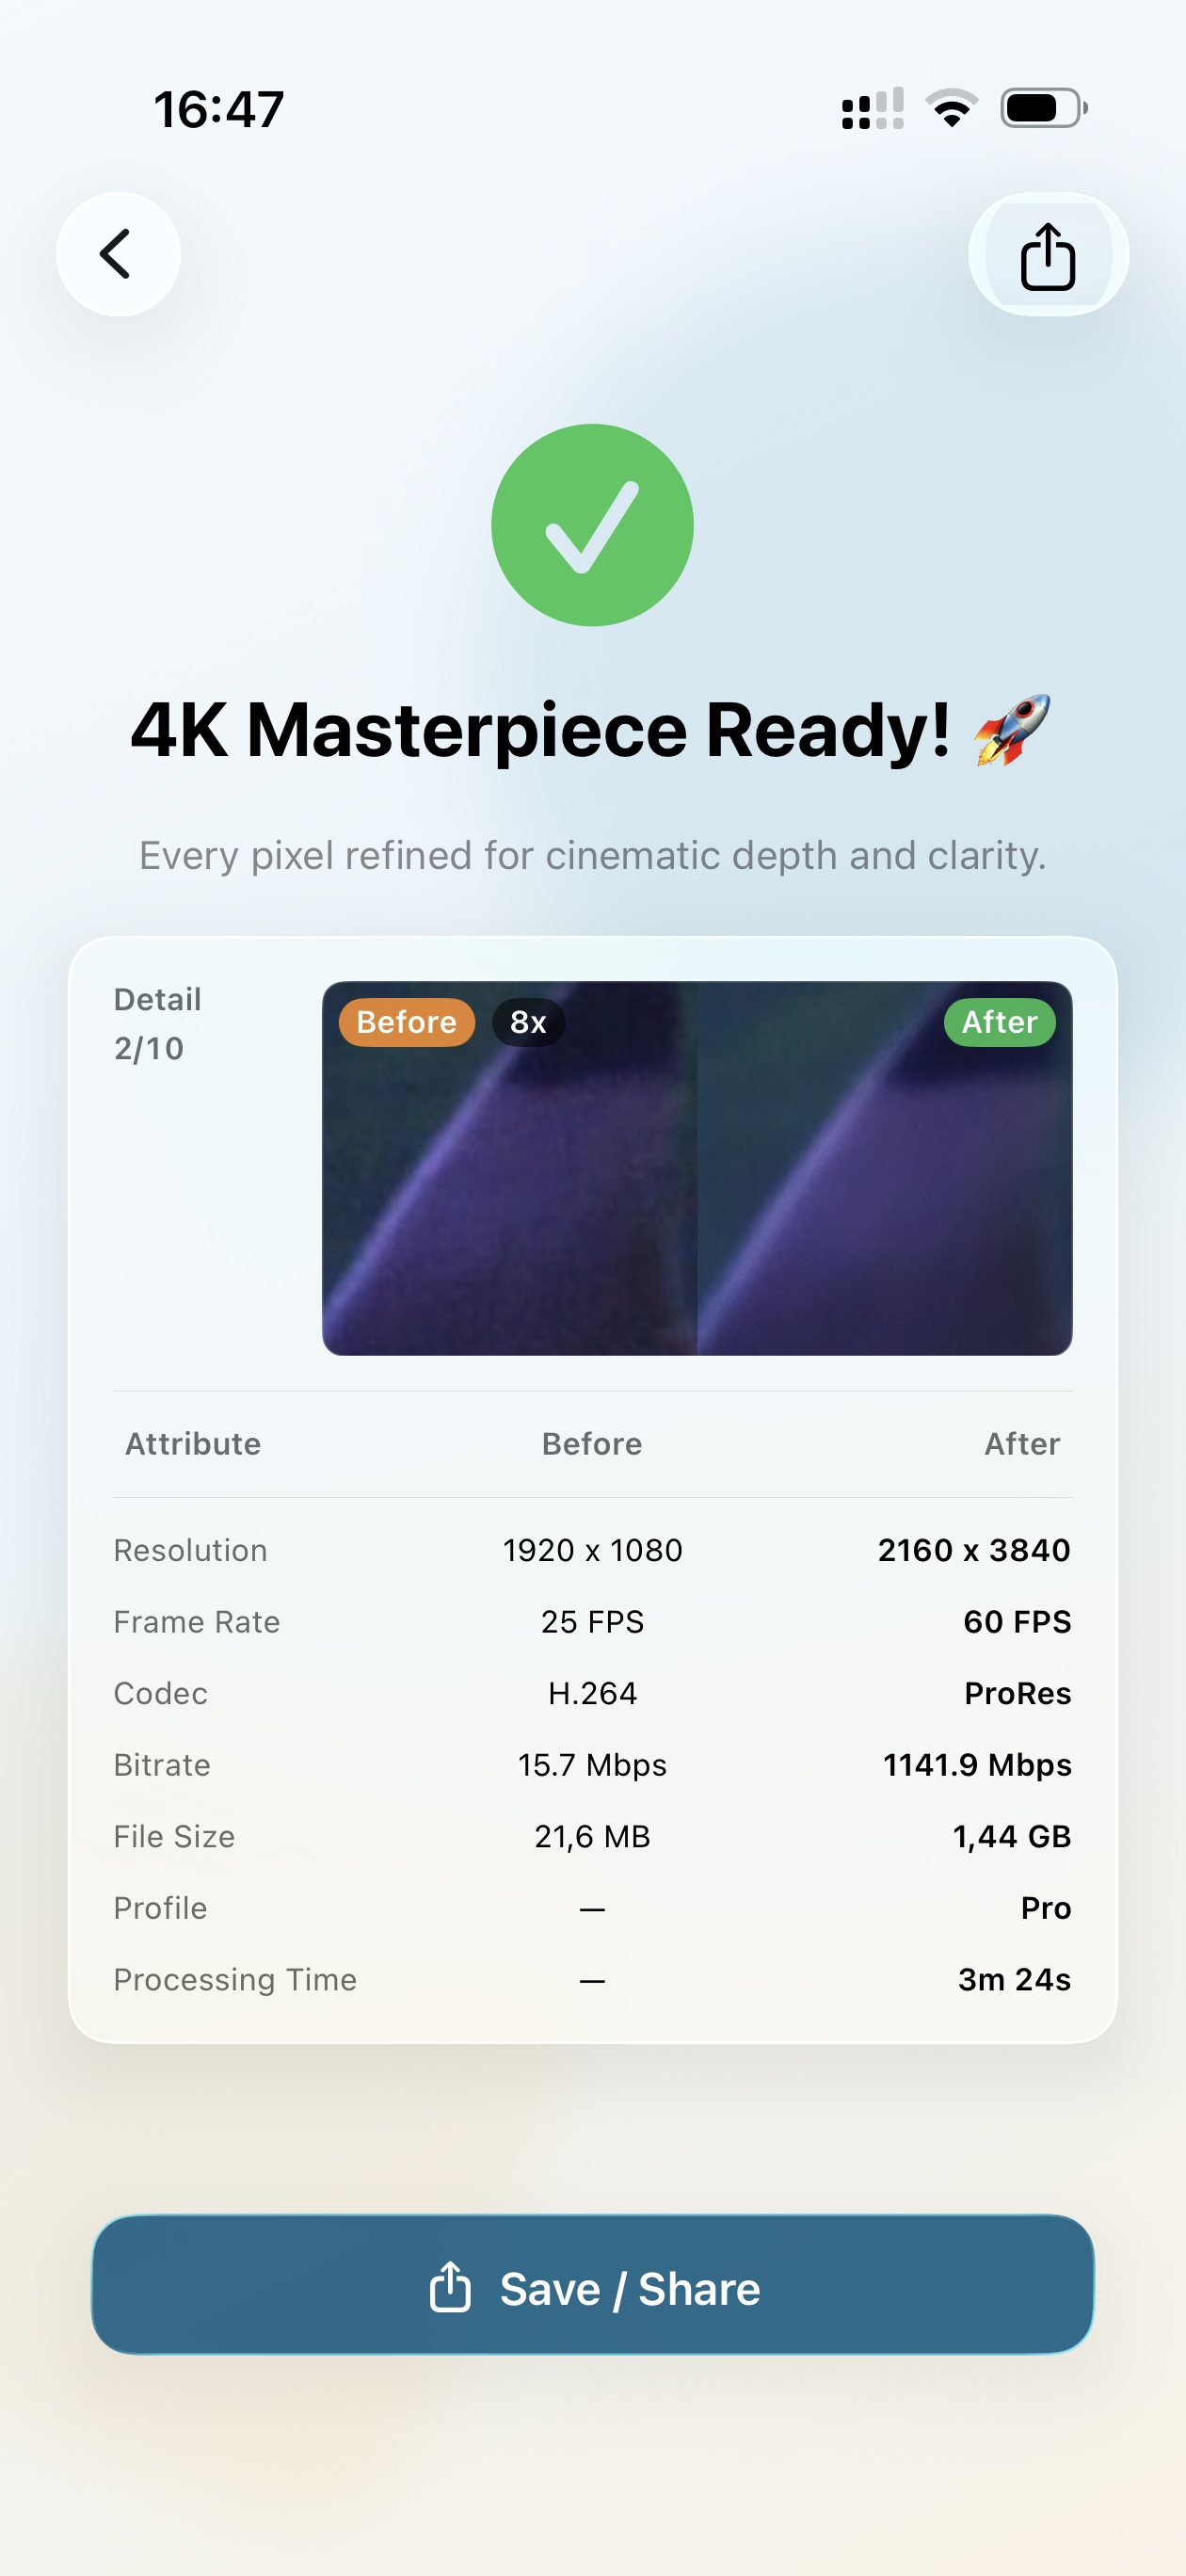
Inspect the before and after result

Use the detailed comparison to see what changed. Check edges, textures, and motion-heavy parts so you can decide whether the video is ready to share.

Smoothie final result ready to save
Step 7

Save or share when ready

When processing is finished, review the final preview. If it looks right, tap Save / Share to keep the video or send it to Photos, Files, messages, social apps, or your editing workflow.